 Save
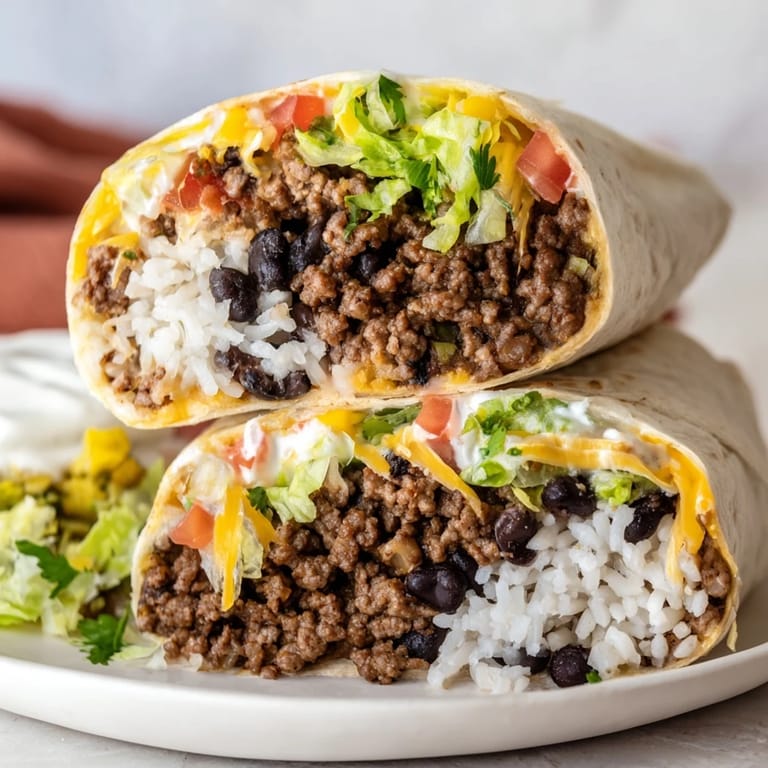
Save Last Tuesday, I found myself staring at an open refrigerator at 8 PM, completely wiped from work but craving something substantial. That's when I remembered my college roommate Carlos teaching me to make burritos in his tiny apartment kitchen. We'd crowd around a single burner, taking turns wrapping everything in warm tortillas while some action movie played in the background. Now it's become my go-to when I want food that feels like a hug.
My niece Sophie helped me make these last weekend, and she insisted on adding way too much cheese to hers. The thing is, she was absolutely right. We ate them leaning against the kitchen counter because nobody wanted to wait for the table, and she kept saying 'uncle, this is actually restaurant good.' Kids can tell when you're cutting corners, but she went back for seconds.
Ingredients
- 1 lb ground beef: I like 85/15 ratio for that perfect balance of flavor and texture without too much excess grease
- 1 tbsp olive oil: Helps prevent sticking and adds a nice fruity base note to the beef
- 1 small onion, finely chopped: The sweetness really mellows out the spices once it cooks down
- 2 cloves garlic, minced: Don't even think about using jarred garlic here, fresh makes such a difference
- 1 tsp ground cumin: This is what gives it that authentic Mexican-American flavor profile
- 1 tsp chili powder: Not too spicy, just adds that beautiful red color and mild heat
- 1/2 tsp smoked paprika: My secret ingredient for that slightly smoky depth
- 1/2 tsp dried oregano: Earthy and herbal, ties all the spices together
- 1/2 tsp salt and 1/4 tsp black pepper: Season each layer as you go for the best flavor
- 2 tbsp tomato paste: Concentrates the beef flavor and adds richness
- 1/3 cup water: Just enough to create that saucy consistency without being soupy
- 1 cup cooked rice: White rice is traditional but brown adds great texture if that's your thing
- 1 cup canned black beans, drained: Rinse them really well or your burritos will taste metallic
- 1 1/2 cups shredded cheddar or Monterey Jack: Jack melts beautifully, cheddar has more punch, sometimes I mix both
- 1 cup shredded lettuce: Iceberg gives crunch, romaine has more flavor, either works
- 1 medium tomato, diced: Try to remove some of the seeds so your burrito doesn't get soggy
- 1/2 cup sour cream: Full fat is worth it here, low fat just disappears into the filling
- 1/3 cup fresh cilantro, chopped: The bright herbal finish cuts through all the rich components
- 4 large flour tortillas: Warm them properly or they'll crack when you try to roll
Tired of Takeout? 🥡
Get 10 meals you can make faster than delivery arrives. Seriously.
One email. No spam. Unsubscribe anytime.
Instructions
- Cook your aromatics first:
- Heat that olive oil in a large skillet over medium, then add your chopped onion and let it soften for 2-3 minutes until translucent. Toss in the garlic for just 30 seconds, you want it fragrant not burned.
- Brown the beef properly:
- Add the ground beef and use your spoon to really break it up into small crumbles as it cooks, about 5-6 minutes until no pink remains.
- Build the flavor base:
- Sprinkle in all your spices—cumin, chili powder, smoked paprika, oregano, salt, pepper—and stir constantly for 1 minute until the kitchen smells incredible.
- Create the sauce:
- Stir in the tomato paste until everything's coated, then add the water and let it simmer for 3-5 minutes until it thickens slightly. Remove from heat and let it cool a bit, hot filling tears tortillas.
- Warm those tortillas:
- Either heat them in a dry pan for 30 seconds per side or wrap in damp paper towels and microwave for 30 seconds. Pliable tortillas are the difference between a burrito and a messy disappointment.
- Assembly line time:
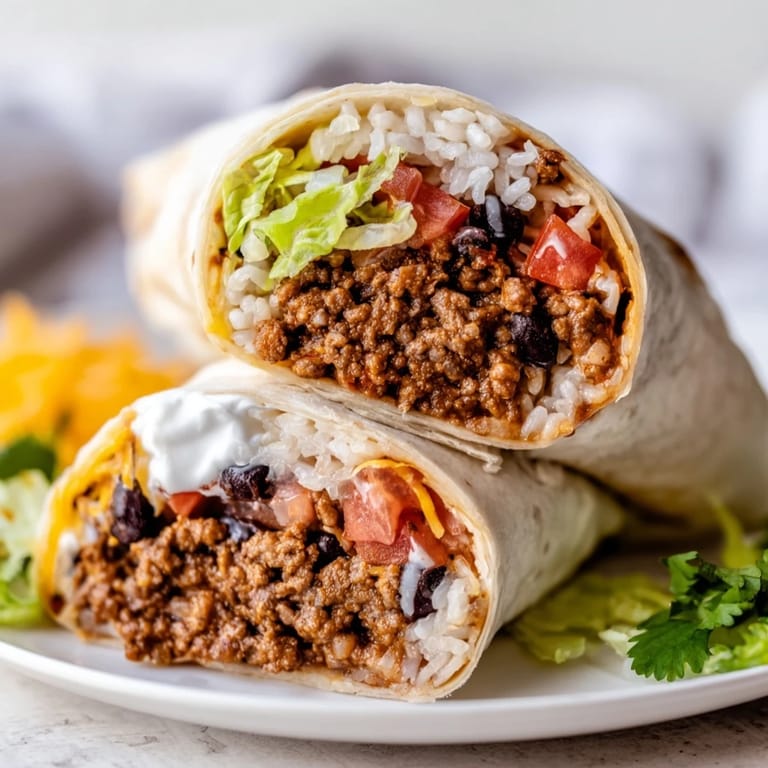
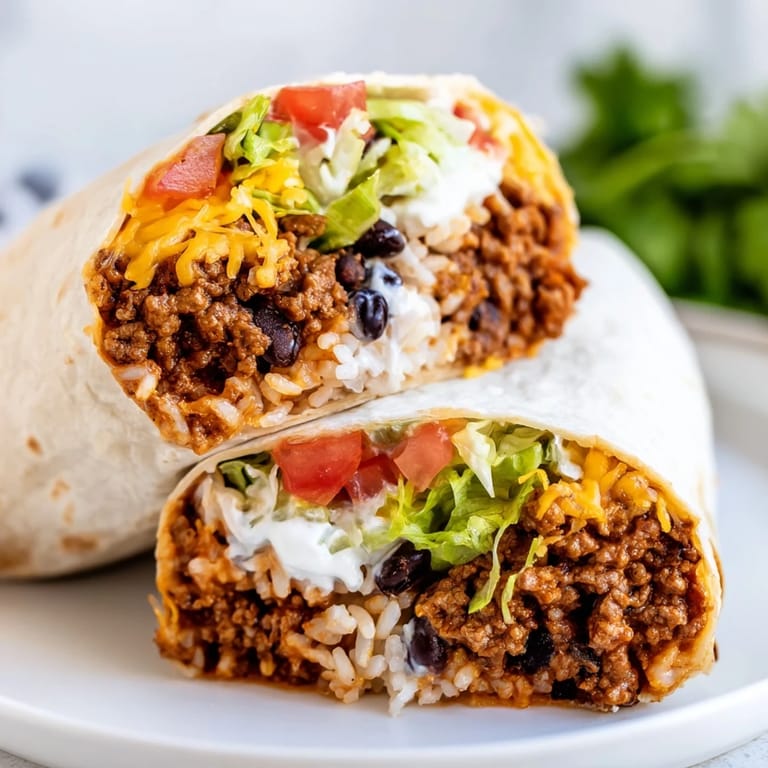
- Lay each tortilla flat and layer in rice first (it acts as a buffer), then beans, beef mixture, cheese, lettuce, tomato, sour cream, and finally cilantro if you're using it.
- The rolling technique:
- Fold in the sides about an inch, then fold up the bottom tightly and roll away from you, tucking as you go. Tuck the final seam underneath.
- The optional toast:
- For a crispy exterior, place burritos seam-side down in a dry skillet over medium heat for 2 minutes. The tortilla gets golden and slightly crispy which contrasts beautifully with the soft filling.
 Save
Save These became a Friday tradition during my first year of teaching. Three of us would rotate apartments, each person responsible for one component, and we'd debrief the week while rolling burritos. Some of the best conversations I've ever had happened over those flour tortillas, hands messy with rice and cheese.
Make-Ahead Magic
The beef filling actually tastes better the next day after the spices have had time to meld together. I'll often make a double batch and keep some in the fridge for emergency burrito cravings. It also freezes beautifully for up to three months, just thaw overnight in the refrigerator and reheat gently.
Customization Station
Once you have the basic technique down, these become infinitely adaptable. My vegetarian sister uses sautéed peppers and mushrooms with extra beans, and my dad adds pickled jalapeños to everything. The beauty is making it exactly what you need it to be that day.
Perfect Pairings
These are substantial enough to stand alone, but I love serving them alongside simple Mexican rice or a crisp green salad with lime vinaigrette. A cold beer or sweet iced tea cuts through the richness perfectly, and some tortilla chips with guacamole on the side never hurt anyone.
- Set up a toppings bar and let everyone customize their own burrito
- Wrap finished burritos in foil and take them on picnics or road trips
- Cut leftovers in half diagonally and pan-fry for amazing burrito bites
 Save
Save There's something genuinely satisfying about wrapping up an entire meal in one handheld package. Hope these bring as much comfort to your kitchen as they have to mine over the years.
Recipe FAQ
- → What type of ground beef works best?
Ground beef with 15-20% fat content (80/85% lean) provides the best flavor and moisture for the filling. Leaner beef may result in a drier texture.
- → Can I make these ahead of time?
Yes, prepare the beef filling up to 2 days in advance and store it refrigerated. Warm before assembling. For best results, assemble burritos just before serving to prevent soggy tortillas.
- → How do I prevent tortillas from tearing?
Warm tortillas in a dry skillet or microwave for 15-20 seconds before filling. This makes them pliable and less likely to crack during rolling. Don't overfill, and fold sides in tightly before rolling.
- → What other toppings can I add?
Sliced avocado or guacamole, pico de gallo, pickled jalapeños, hot sauce, corn, or sautéed bell peppers all make excellent additions. Drizzle with queso or taco sauce for extra richness.
- → Can I freeze these burritos?
Absolutely. Wrap assembled burritos tightly in foil or plastic wrap, then freeze for up to 3 months. Thaw overnight in the refrigerator, then reheat in a 350°F oven or microwave until hot throughout.
- → What's the best way to reheat leftovers?
Reheat in a dry skillet over medium heat for 2-3 minutes per side until crispy and warmed through, or microwave for 1-2 minutes. For a crispy exterior, finish in a toaster oven at 375°F for 5-8 minutes.