 Save
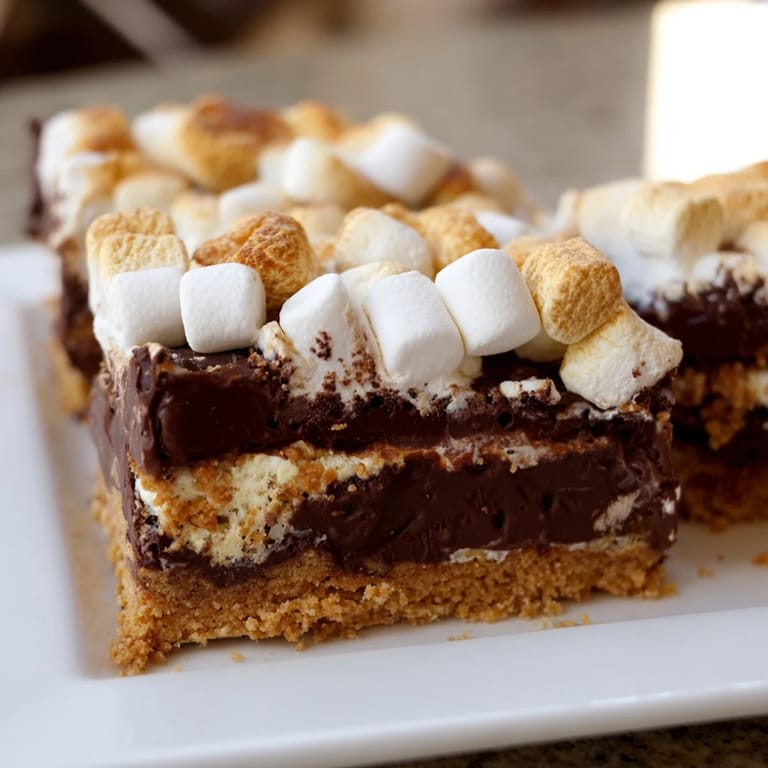
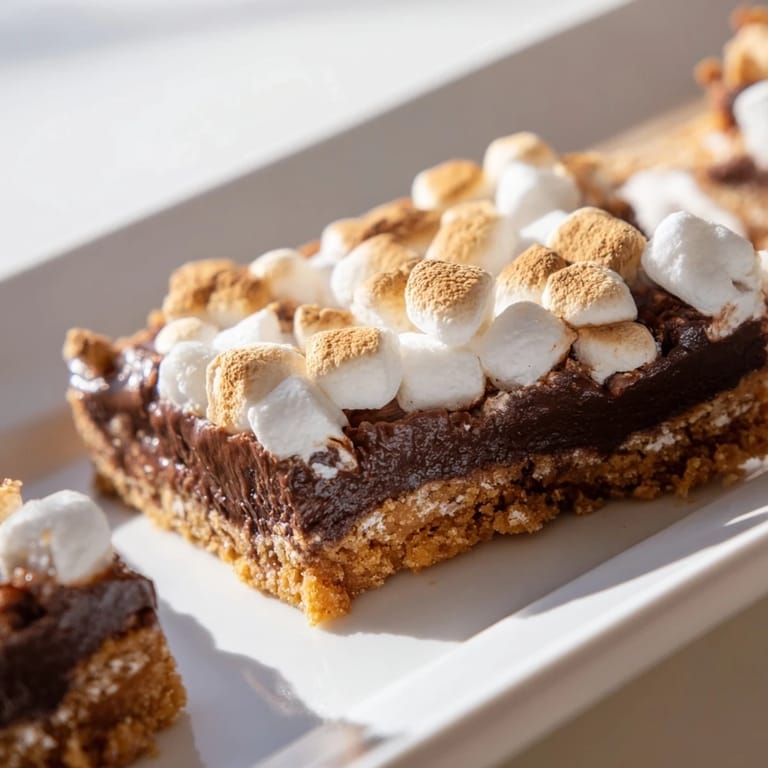
Save The smell of graham crackers toasting in my apartment hallway always makes neighbors pause and ask what I'm baking. These s'mores bars started as a rainy day experiment when camping was out of the question but the craving wouldn't go away. My roommate walked in mid-bake and just stood there inhaling deeply, asking if I'd somehow transported a campfire into our kitchen.
I made these for a summer backyard movie night and watched the plate empty in record time. My friend's seven-year-old asked if I could teach him the recipe, then proceeded to explain marshmallow toasting science to everyone within earshot. Now they're the most requested treat for every gathering, no matter the season.
Ingredients
- Graham cracker crumbs: Freshly crushed give the best texture, but store-bought crumbs work perfectly fine
- Unsalted butter: Melt it completely so every crumb gets coated and the crust holds together beautifully
- Granulated sugar: Just enough to sweeten the crust without competing with the chocolate layer
- Semi-sweet chocolate chips: They melt into the perfect fudgy layer that balances the sweet marshmallow topping
- Mini marshmallows: They toast more evenly than regular ones and create that irresistible golden blanket on top
Tired of Takeout? 🥡
Get 10 meals you can make faster than delivery arrives. Seriously.
One email. No spam. Unsubscribe anytime.
Instructions
- Get your oven ready:
- Preheat to 350°F and line an 8x8 inch pan with parchment paper, letting the ends hang over like handles for easy lifting later.
- Make the crust:
- Mix graham crumbs, melted butter, and sugar until everything is evenly moistened and smells like buttery heaven.
- Press it down:
- Use the bottom of a measuring cup to firmly press the mixture into your pan, creating an even layer that will hold up to all that gooey topping.
- Par-bake the base:
- Bake for 8 minutes until set and fragrant, giving you that perfect toasted graham flavor foundation.
- Add the chocolate:
- Sprinkle chips over the warm crust and return to the oven for just 2 minutes until they soften enough to spread into a smooth layer.
- Layer on marshmallows:
- Scatter mini marshmallows across the chocolate, pressing gently so they stick but still have room to puff up beautifully.
- Golden brown perfection:
- Bake 10 to 12 minutes until the marshmallows are toasted to your liking, watching closely as they go from pale to golden quickly.
- The patience part:
- Let cool completely, then chill for an hour so you can cut clean squares that hold their shape instead of pulling apart into delicious chaos.
 Save
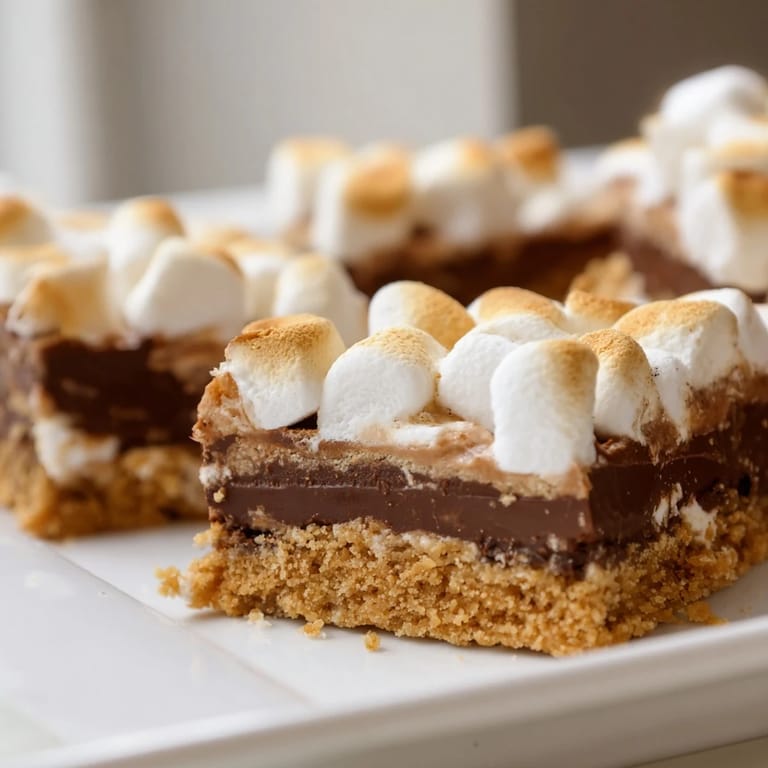
Save These bars became my go-to comfort food during a particularly stressful month at work. Something about that combination of crisp graham, melty chocolate, and toasted marshmallow makes everything feel a little more manageable, even on Tuesdays.
Making Them Your Own
I've discovered that a pinch of flaky sea salt on top before the final bake creates this incredible sweet-salty contrast that makes people pause and ask what's different. Sometimes I swap in dark chocolate chips when I want something less sweet, and that bitter edge cuts through all the sugar beautifully.
Storage Secrets
These bars keep surprisingly well at room temperature for two days, though the marshmallows do lose some of their initial toastiness. For longer storage, I wrap individual portions and freeze them, then let my kids pop frozen squares into lunchboxes where they thaw perfectly by afternoon.
Serving Ideas
Warm bars with a scoop of vanilla ice cream create this incredible hot-cold contrast that feels like a restaurant dessert. I've also crumbled them over chocolate pudding and used them as a crust for cheesecake bars, though nothing beats eating them straight up while still slightly warm from the pan.
- Drizzle with salted caramel right before serving for an over-the-top dessert
- Crumble over vanilla ice cream for an instant sundae upgrade
- Wrap individually in wax paper for the perfect lunchbox treat
 Save
Save There's something deeply satisfying about capturing campfire memories in a pan, especially when you can enjoy them year-round without fighting mosquitos or dodging rain.
Recipe FAQ
- → How do I store these bars?
Store in an airtight container at room temperature for up to 3 days. For longer storage, refrigerate for up to a week, though the texture may become slightly firmer.
- → Can I make these ahead of time?
Yes! Prepare up to 2 days in advance. The flavors actually develop better after sitting. Warm slightly before serving for that fresh-baked gooey texture.
- → Why did my marshmallows burn?
Marshmallows can go from golden to burned quickly. Keep a close eye during the final 10-12 minutes and check frequently. Broiling for 1-2 minutes as an alternative gives more control.
- → Can I use different chocolate?
Absolutely! Milk chocolate creates a sweeter bar, dark chocolate adds depth, or mix chocolate chunks for varied melting pockets. Adjust quantity to maintain even coverage.
- → Do I need to chill before cutting?
Chilling for 1 hour isn't mandatory but highly recommended. It firms the chocolate and marshmallow layers, ensuring clean cuts with less sticking and mess.
- → Can I double this batch?
Yes! Use a 9x13-inch pan and adjust baking time slightly. The crust may need 2-3 extra minutes, and the marshmallows might take an additional 2-4 minutes to toast evenly.