Save
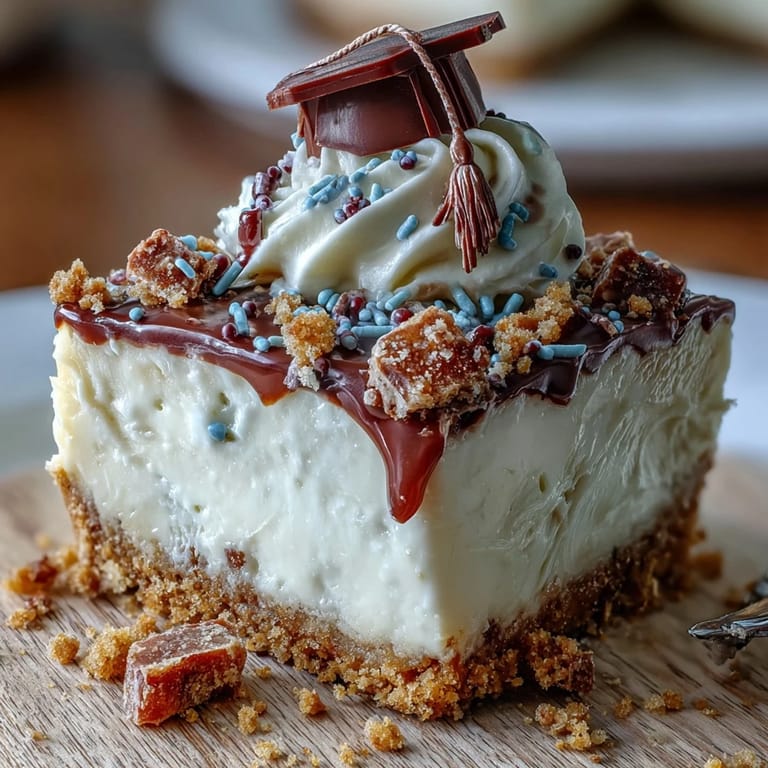
Save The air was charged with anticipation as trays of cheesecake bites cooled on my kitchen counter, the scent of vanilla and buttery graham crackers mingling in the background. I remember thinking these little treats would be the last to disappear at my sister's graduation party — but I had underestimated their charm. Each bite-sized cheesecake came out perfectly creamy, topped with a playful crown of whipped cream and candy caps. It's one of those recipes that feels celebratory even as you're making it, spatula in hand and confetti idea in mind. I've come to love the ritual of adding one more sprinkle at the last second, just for luck.
The last time I made these for a crowd, there was a scramble in the kitchen as my nephew insisted on helping — mostly by sneaking the decorations. We laughed about his "quality control" as we piped whipped cream loops onto each mini cake. That night, after the diplomas had been handed out and speeches given, an aunt mentioned these were the perfect post-celebration pick-me-up. She even hid a few in her purse for the ride home. I never expected such a simple dessert to become the secret highlight of the evening.
Ingredients
- Graham cracker crumbs: The familiar crunch sets the base—I've found blitzing whole crackers yourself yields even more texture.
- Granulated sugar: Just a hint in the crust and filling brings out the cheesecake's creamy notes without overpowering.
- Unsalted butter: Melting this gives a golden, cohesive crust; let it cool just slightly to keep the crust from getting greasy.
- Cream cheese: Leave it out for about 30 minutes before using—room temperature cream cheese mixes up flawlessly smooth and lump-free.
- Eggs: Adding them one at a time keeps the batter airy and the cheesecakes light.
- Vanilla extract: This rounds out the flavor, and real extract, not imitation, makes a subtle but real difference.
- Sour cream: Adds a tang that balances the sweetness and keeps them ultra-creamy.
- Pinch of salt: Never skip it—just a pinch makes all the flavors pop.
- Whipped cream (for topping): A final cloud of fluff and a cool contrast to the dense filling.
- Festive sprinkles or chocolate graduation caps: Grad parties truly light up with these themed toppers.
- Fresh berries: Adds a pop of color and gives a hint of freshness among all the sweet bites.
Tired of Takeout? 🥡
Get 10 meals you can make faster than delivery arrives. Seriously.
One email. No spam. Unsubscribe anytime.
Instructions
- Preheat & Prep:
- Set your oven to 325°F (160°C) and line a mini muffin pan with cute liners; even the papers feel festive here.
- Mix Crust:
- Stir together graham cracker crumbs, sugar, and melted butter until every crumb glistens, then press about a tablespoon into each liner—the sizzle of butter is always a sign you did it right.
- Bake Crusts:
- Slide the pan in for 5 minutes just to set the base, then let them cool while you mix the filling.
- Beat Filling:
- In a big bowl, whip the cream cheese smooth, then add sugar and beat until fluffy before adding eggs one by one, then vanilla, sour cream, and a dash of salt; scrape the bowl for the silkiest batter.
- Fill & Bake:
- Spoon the batter nearly to the top of each crust, feeling a little thrill as you see how perfectly they fill the space, and bake 13–15 minutes until they're set with just a little jiggle.
- Cool Down:
- Let them rest in the pan for 10 minutes so they finish setting, then loosen gently and move to a rack; it's okay if a few tilt sideways—that's the homemade charm.
- Chill:
- Let them come to room temp before tucking them in the fridge for at least 30 minutes, which transforms the texture into creamy bliss.
- Decorate & Serve:
- Dollop or pipe on whipped cream, shower with sprinkles, and crown with chocolate caps or berries right before serving for maximum wow.
 Save
Save The first time the graduates saw these little cheesecakes looking like mini diplomas, their faces lit up more than when they spotted the cake itself. To this day, everyone asks who gets the last one—as if there weren't plenty to go around. Suddenly it's less about dessert and more about the celebration.
Making It Party Ready
One thing I learned is to pipe the whipped cream just before guests arrive, so it holds its shape and doesn't melt under room lights. I like to set up a sprinkle-and-berry decorating station so friends can DIY their own bites. The most fun comes when someone makes theirs wildly over the top and someone else goes simple—each cheesecake bite becomes a snapshot of the party vibe.
A Few Customization Ideas
We once swapped out the classic graham cracker crust for crushed chocolate cookies, and it turned out to be a game-changer for the chocolate lovers. Swapping berries for thin-sliced fruit or lemon zest adds a zippy twist, and no one ever complained about a drizzle of caramel. You can even sneak a little cinnamon or espresso powder into the crust for a subtle flavor bump.
Troubleshooting & Storage
Sometimes a couple of cheesecakes sink or crack on top, but a swirl of cream or a sprinkle covers any little hiccup. They store perfectly in the fridge, uncovered at first so condensation doesn't soften the tops, then covered once chilled. These keep fresh for at least two days—if they last that long.
- Place them in a single layer for storage.
- Add toppings just before serving to keep everything crisp.
- Don't forget to save one for yourself!
 Save
Save These cheesecake bites have a way of turning any gathering into a celebration. Here's to making memories, one creamy bite at a time.
Recipe FAQ
- → How do I know when the centers are done?
Centers should be set but still show a slight jiggle when you gently shake the pan; edges will be firmer. Residual heat finishes the set during cooling, so avoid overbaking to keep a creamy texture.
- → Can these be prepared ahead of time?
Yes. Bake and chill the bites up to 24 hours in advance. Add whipped cream and delicate decorations just before serving to keep toppings fresh and crisp.
- → What can I use instead of graham cracker crumbs?
Substitute chocolate cookie crumbs, digestive biscuits, or gluten-free cookies for a different flavor or dietary need. Adjust the melted butter slightly to get the same press-and-hold consistency.
- → How can I prevent cracks on the surface?
Avoid overmixing the batter and overbaking. Remove from oven when centers still wobble slightly, cool gradually in the pan for a few minutes, then transfer to a rack before chilling to reduce cracking.
- → Can these be frozen for later?
Freeze unadorned bites in a single layer until firm, then stack in a sealed container with parchment between layers. Thaw in the refrigerator before serving and add whipped toppings just before presenting.
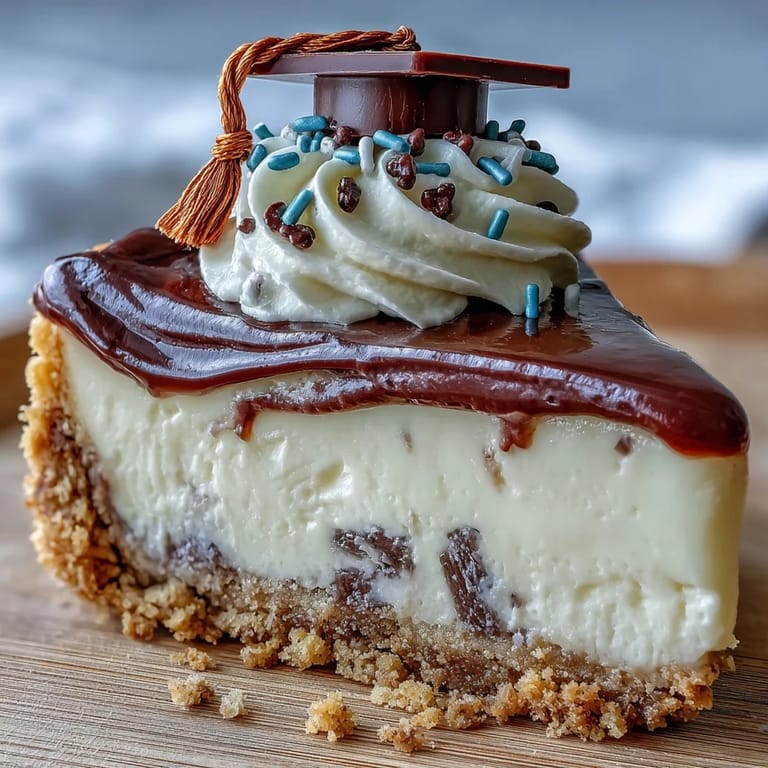
- → Any tips for creating graduation cap decorations?
Use small chocolate squares for caps and a short piece of licorice or piped melted chocolate for the tassel. Press a toothpick gently to hold pieces while they set, then chill to firm up decorations.